Are you ready to elevate your baking game with a stunning finishing touch? Chocolate Mirror Glaze is the secret ingredient that turns ordinary cakes into extraordinary masterpieces. Whether you’re decorating for a special occasion or simply want to impress your family, this guide will walk you through creating a glossy, professional-looking glaze at home. Let’s get started!
Why Chocolate Mirror Glaze Is Essential for Cake Decoration
There’s something magical about Chocolate Mirror Glaze —its smooth, glossy finish gives desserts a polished look that screams professionalism. Unlike traditional frostings, this glaze creates a mirror-like shine that makes cakes stand out on any table. Plus, it pairs beautifully with chocolate desserts, adding both flavor and flair.
Did you know that mirror glaze has become a staple in patisseries worldwide? This technique isn’t just for experts anymore; with these secrets, even beginners can achieve restaurant-quality results from their own kitchens.
Ingredients for Your Chocolate Mirror Glaze

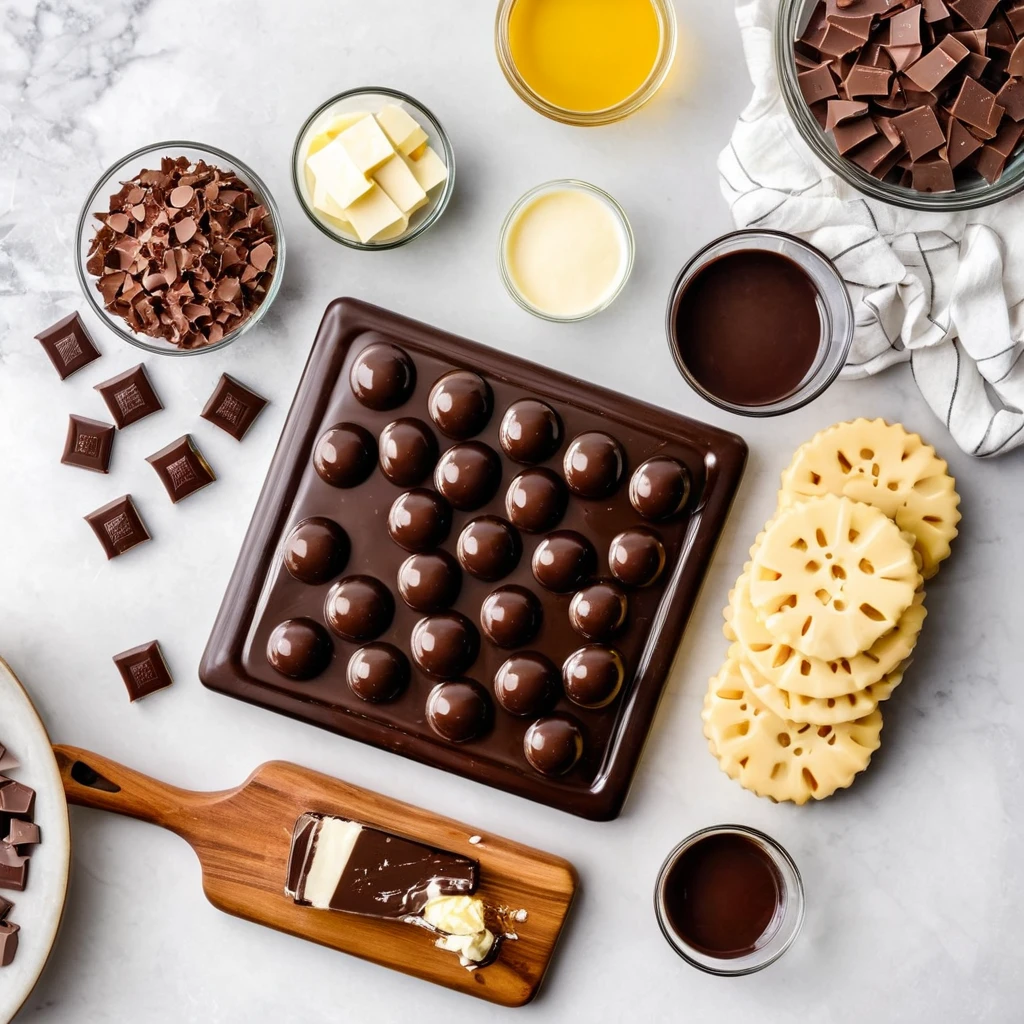
Before we dive into the fun part, let’s gather all the ingredients you’ll need to make this dazzling glaze:
Base Ingredients
- 200g dark chocolate (finely chopped)
- 150ml heavy cream
- 50g glucose syrup (or light corn syrup)
- 50g unsalted butter, softened
- 1 teaspoon vanilla extract
Optional Add-ins
- Milk or white chocolate (for lighter variations)
- Food coloring (to create vibrant hues)
Pro tip: Use high-quality chocolate for the best flavor and shine. Avoid using cocoa powder, as it won’t give you the same glossy effect.
Instructions to Make Chocolate Mirror Glaze

Now that you’ve got everything ready, follow these simple steps to create your very own Chocolate Mirror Glaze :
- Prepare Ingredients : Finely chop the chocolate and place it in a heatproof bowl. Measure all other ingredients and keep them nearby.
- Heat Cream Mixture : In a small saucepan, heat the heavy cream and glucose syrup over medium heat until just before boiling. Remove from heat and stir in vanilla extract.
- Combine with Chocolate : Pour the hot cream mixture over the chopped chocolate. Let it sit for 2-3 minutes, then whisk gently until smooth. Be careful not to overmix, as this can affect the texture.
- Add Butter : Stir in the softened butter until fully incorporated. The glaze should be silky and uniform. Strain it through a fine-mesh sieve for an extra-smooth result.
- Cool and Set : Allow the glaze to cool slightly at room temperature until it thickens enough to coat the back of a spoon. Avoid refrigerating unless necessary, as sudden cooling can ruin its shine.
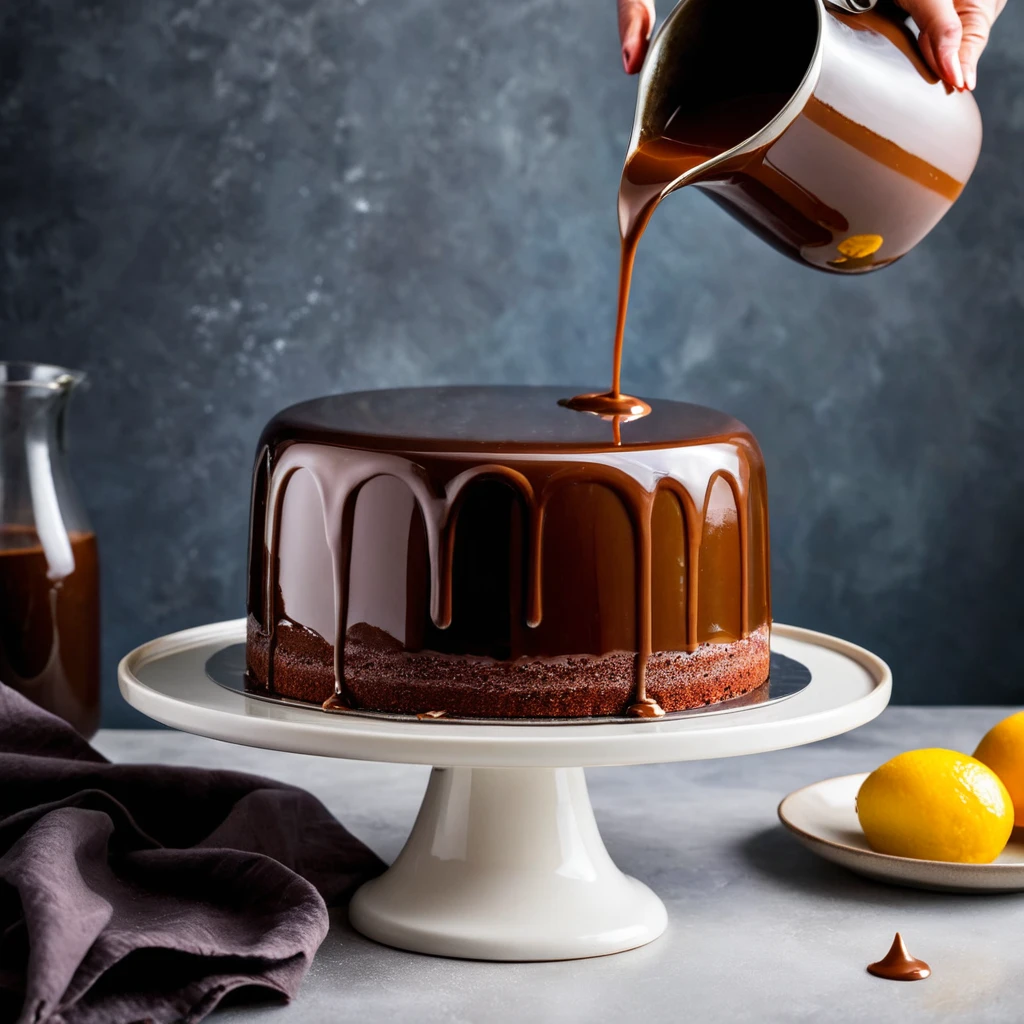
- Apply to Cake : Pour the glaze evenly over a chilled cake or dessert. Use an offset spatula to spread if needed, ensuring an even layer. Let it set before serving.
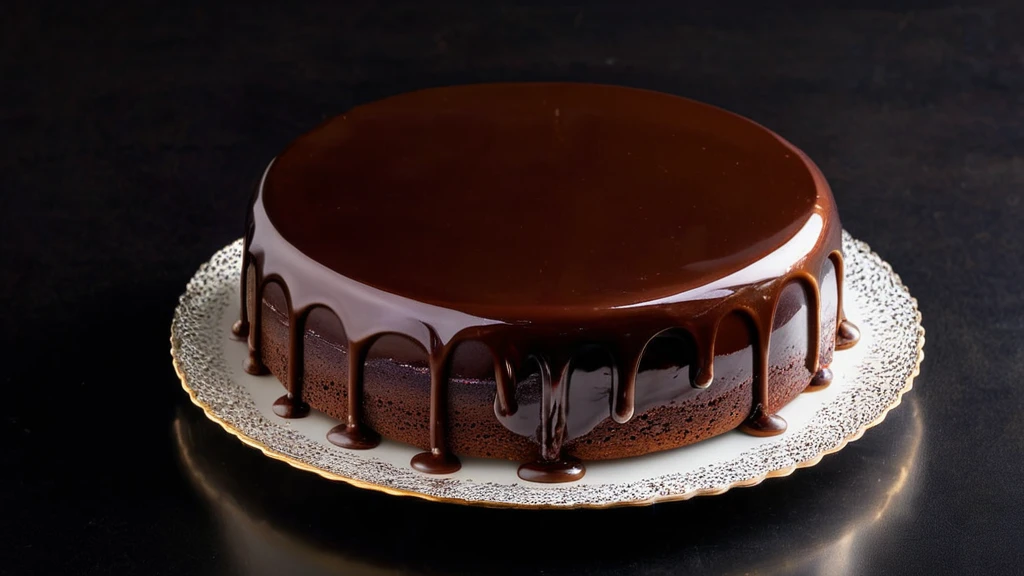
By following these steps, you’ll have a perfectly smooth and shiny Chocolate Mirror Glaze ready to wow your guests.
Tips for Success in Making Chocolate Mirror Glaze

Here are some expert tips to ensure your Chocolate Mirror Glaze turns out flawlessly every time:
- Use High-Quality Chocolate : Premium chocolate ensures better flavor and shine. Avoid cheap brands, as they may lack the richness needed for a glossy finish.
- Control Temperatures Carefully : The key to success lies in maintaining the right temperature. If the glaze is too hot, it might melt the frosting beneath; if it’s too cold, it could crack after application.
- Strain for Smoothness : Straining the glaze removes any lumps, giving you a flawless, lump-free coating.
- Chill Your Dessert First : Always chill your cake or dessert before applying the glaze. A warm surface can cause the glaze to slide off or lose its shine.
- Experiment with Colors : Add food coloring to create vibrant shades like red, blue, or green. This adds a fun twist while keeping the glaze’s signature shine intact.
Variations to Try with Your Chocolate Mirror Glaze
Once you’ve mastered the basics, feel free to experiment with variations to suit your taste:
- Swap dark chocolate with milk or white chocolate for softer flavors.
- Layer the glaze with fondant or ganache for added dimension.
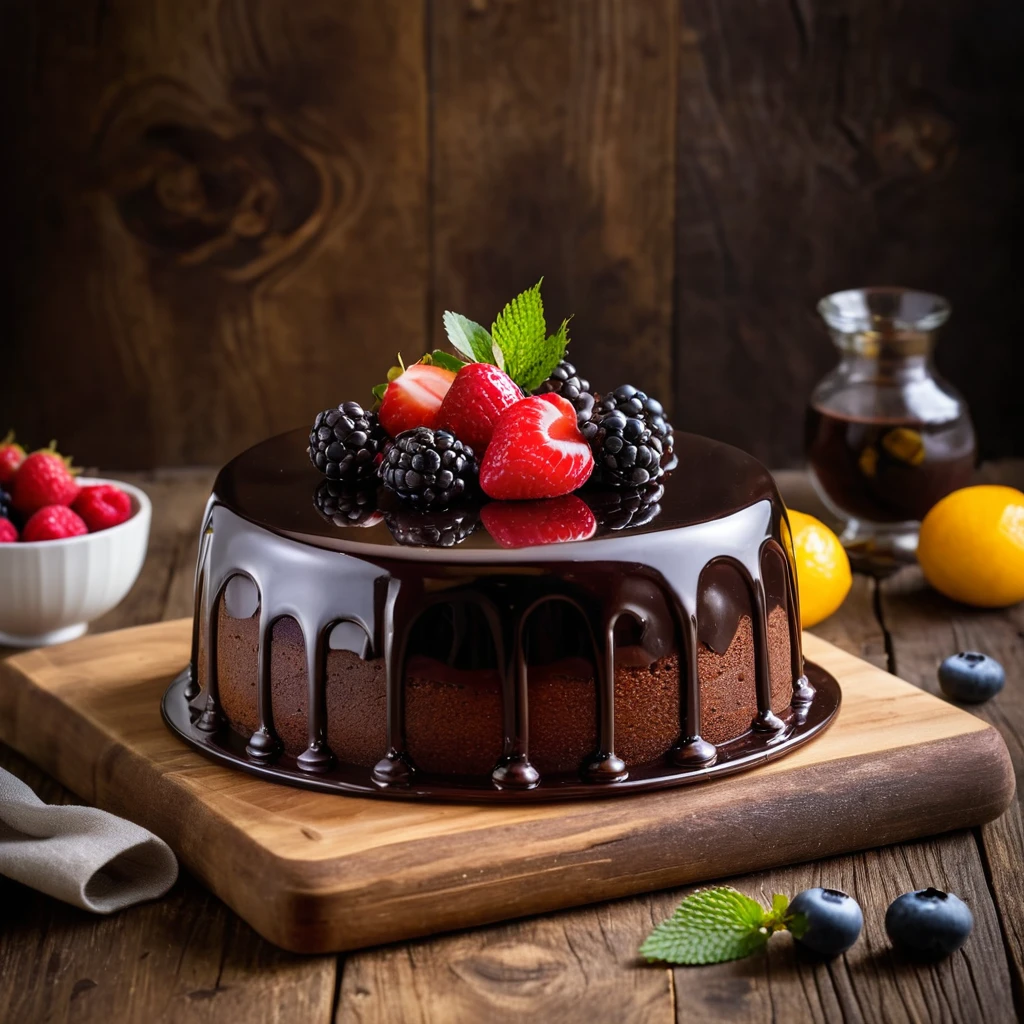
- Sprinkle edible glitter or gold dust on top for a luxurious touch.
These tweaks keep things exciting while staying true to the essence of Chocolate Mirror Glaze .
Why Chocolate Mirror Glaze Belongs in Every Baker’s Arsenal
Whether you’re decorating for a birthday party, holiday gathering, or just because, Chocolate Mirror Glaze adds a touch of elegance to any dessert. Its versatility makes it ideal for various occasions, and its simplicity means anyone can master it with practice. Pair it with rich chocolate cakes, fruity tarts, or creamy cheesecakes for unforgettable results.
For those looking for dessert recipes or baking techniques , this glaze is a must-try. It’s not only beautiful but also enhances the overall taste of your creations.
Conclusion
Making Chocolate Mirror Glaze doesn’t have to be intimidating. With its smooth texture and dazzling appearance, this technique transforms homemade desserts into works of art. By following this guide and practicing the tips provided, you’ll achieve a professional finish every time.
So why wait? Grab your tools and start experimenting today. Once you’ve tried this recipe, don’t forget to share your creations or adaptations in the comments below—we’d love to see how you personalized your Chocolate Mirror Glaze !
Ready to try your hand at making Chocolate Mirror Glaze ? Share your photos and feedback in the comments section—we’d love to hear about your experience! And don’t forget to subscribe to our blog for more cake decoration ideas and easy dessert recipes. Happy baking!

